Happy new week to you from us here at the MFT Challenge & Inspiration blog. Are you ready to learn something new to start things right? You're in the right spot, then!
This week we're going to learn the basics of creating Shaker Cards.
Shaker cards are honestly fun for EVERYONE! Not only do you get to have fun creating it, the recipient gets a cool surprise in an envelope. Their delighted reaction is worth the effort.
Wasn't that fun? I love her tip about baby powder to kill the adhesive. Believe me, that's an important step you don't want to miss. Make sure to follow the My Favorite Things YouTube channel for more tutorials!
Let's take a look at a few examples of other projects that incorporate shaker elements.
Julie created a flat shaker card using the Stitchable Heart STAX Die-namics. Oh so appropriate for this time of year, don't you agree? You can learn more about creating flat shaker cards HERE.
Torico created whimsical scientific flasks with the Chemistry Set Die-namics. I love how she added inking AND stamping behind the sequins to carry out the color scheme. To create this card, you can follow the steps that Kimberly outlined in the video.
Melania shows that shakers don't have to only show up on your cards! How adorable are these shaker tags that she created using the Ewe are the Best stamp set and Die-namics and the Tag Builder Blueprints 5 Die-namics? So fun to attach to a sweet Valentine's Day gift!
In case you want to learn even MORE about creating shaker cards, follow these links:
- Creating Flat Shaker Cards
- Creating a Shaker Card with a Frame Die-namics
- Creating Shaker Cards with Word Die-namics
- Creating a Peek-a-Boo Shaker Card
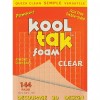
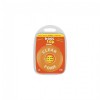
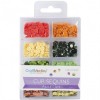
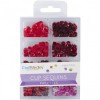
Wondering what sorts of things you'll need to get started? Check out this fun selection of products available in the My Favorite Things store. If the product is out of stock, you can subscribe to get a notification when it's back in stock.
Now it's your turn to create! Be sure to tag #mftstamps when you post your projects online. We can't wait to see what you've made!
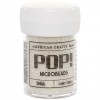
 Supplies used in the project for today's video:











Some great tips and beautiful inspiration!
ReplyDelete